Breaking News

Facebook

Linux

Tools

Others

Showing posts with label Photoshop. Show all posts

Thursday, 15 May 2014

Poster from the Words

Final Image Preview

Poster from the Words

Step 1

First we are going to create a new document in Photoshop with 1000×1000 pixels with all the default settings. Fill the background layer with black color.
Poster from the Words 1

Step 2

Select Horizontal Type Tool and place any text (white color, caps on) filling all background as you can see below. Only use one text layer.
Poster from the Words 2
Poster from the Words 3
Rotate text 45 degrees CW by going to Edit > Transform > Rotate.
Poster from the Words 4
Poster from the Words 4a

Step 3

Open photo and copy it to our canvas over text layer. Go to Edit > Free Transform and resize photo to something similar to what I have.
Poster from the Words 5
Select text from text layer (Ctrl+left click on text layer thumbnail in layers). Press Ctrl+Shift+I to invert selection. With selection active, select photo layer and press Delete to clear selection contents.
Poster from the Words 6
Press Ctrl+D to deactivate selection.
Poster from the Words 7
Apply Image > Adjustments > Brightness/Contrast.
Poster from the Words 8
Poster from the Words 9

Step 4

Create a new layer. Select Horizontal Tool (Arial, white color, 55px) and write something like “DJ Music!”. Create a second new layer and write “Only best hits!” (Arial, white color, 25px).
Poster from the Words 10
Rotate text 45 degrees CW by going to Edit > Transform > Rotate on both layers.
Poster from the Words 11
Apply Layer > Layer Style > Blending Options > Outer Glow to both layer to make it more readable.
Poster from the Words 12
Poster from the Words 13

Final Image

Poster from the Words
This tutorial is now finished and you got a great effect!

Source: http://www.photoshopstar.com/graphics/poster-from-the-words/
Read more ...

How To Create Great Typographic Wallpaper In Photoshop

This tutorial will teach you how to create a really interesting and unique typographic wallpaper in few easy steps. Even a beginner will be able to recreate this effect, and add their own style and thought in it; I am sure you will enjoy and learn a lot from this tutorial! You will learn how to create good looking background, add lightning effects and work with fonts, sizes, colors to make the necessary places stand out! Let’s get started!

Step 1 – Creating background
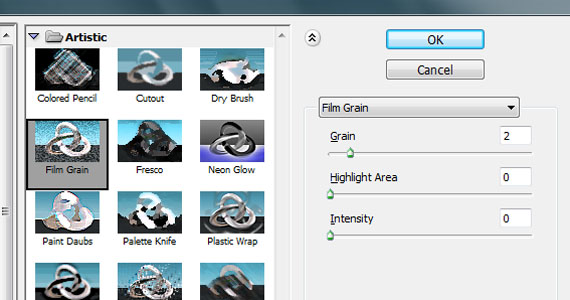
First, open a blank document with size 1920×1200 pixels. Fill the background with color #242424. Duplicate the background layer and name it Film grain. Then go to Filter – Artistic – Film Grain. Apply settings shown below.
filmgrain-how-to-create-typographic-wallpaper
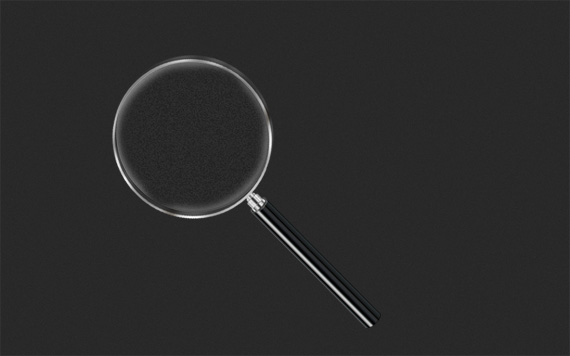
Set layer opacity to 50%. So far your wallpaper should look like this.
filmgrain2-how-to-create-typographic-wallpaper
Step 2 – Lightning
Create a new layer and name it Lighting. Then select the Radial Gradient Tool with black and white color.
radialgradient-how-to-create-typographic-wallpaper
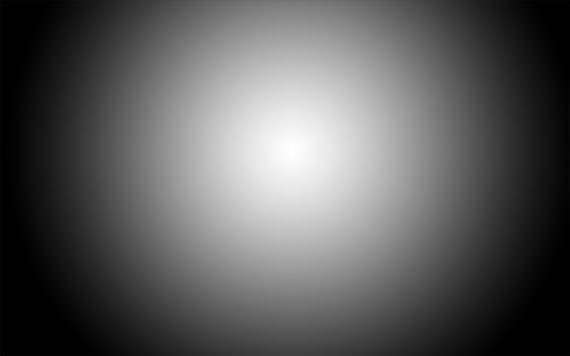
Draw the gradient as shown below.
radialgradient2-how-to-create-typographic-wallpaper
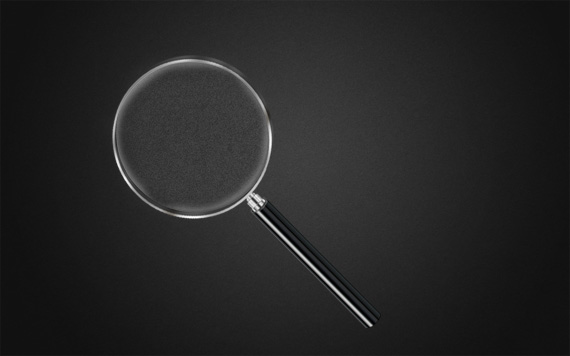
Set layer to Overlay and opacity to 55%. You should have something like this.
radialgradient3-how-to-create-typographic-wallpaper
Step 3 – Adding Brushes
Download Adys grunge brushes, create new layer and brush around a little bit. Set layer opacity to 15%. Download Concrete texture, place it in your document and set it to Overlay and opacity to 10%.
backgrounddone-how-to-create-typographic-wallpaper
Step 4 – Creating Main Text
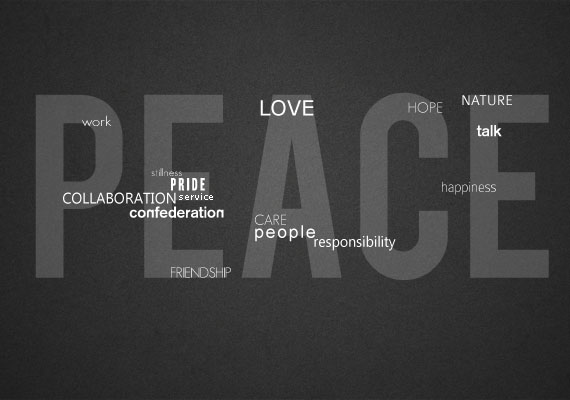
Download BEBAS font, create a new layer and type your text. I chose 350 pt size with smooth mode. Color really doesn’t matter. Name layer PEACE.
text1-how-to-create-typographic-wallpaper
Step 5 – Add Background Text – Important Step
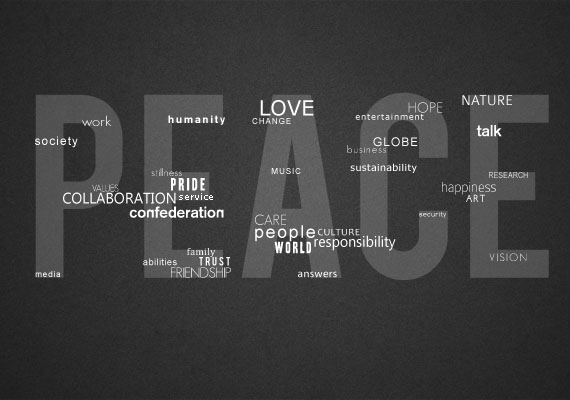
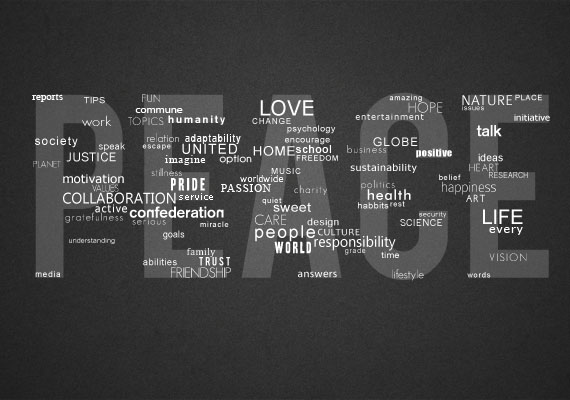
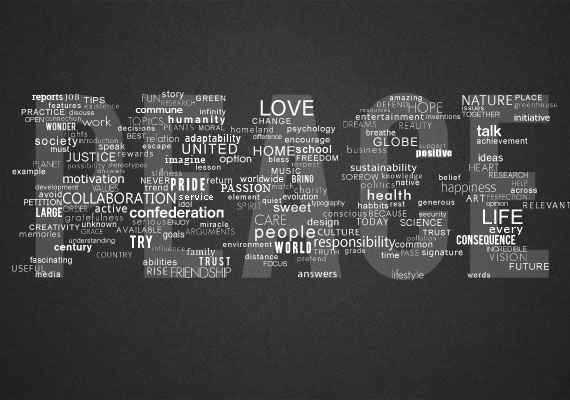
Lower your text opacity to around 15%. Create a new group (Layer – New – Group) and name it Words. Create new type layers in this group and start typing. Try to use different fonts and sizes. Try to avoid large spaces between words. The fonts I used:
  • Arial
  • Cambria
  • Candara
  • Impact
  • Tahoma
  • Times New Roman
  • Verdana
  • And little bit more default fonts
  • Some free fonts from dafont, Colaborate, Extravaganzza
text2-how-to-create-typographic-wallpaper
text3-how-to-create-typographic-wallpaper
text4-how-to-create-typographic-wallpaper
text5-how-to-create-typographic-wallpaper
text6-how-to-create-typographic-wallpaper
Step 6 – Creating effect
When you’re done duplicate your Words group (Layer – Duplicate Group) and merge it (Ctrl+E). Make invisible your unmerged Words group. Find your large text layer (in my case it’s PEACE), hold CTRL (Command on mac) and click on layers thumbnail. That should load it’s selection.
selection-how-to-create-typographic-wallpaper
Then click on your merged words layer and press Ctrl+J. If you make invisible your merged Words layer (and unmerged Words group is still invisible) you should get something like this.
peaceonly-how-to-create-typographic-wallpaper
Step 7 – Create Background Text Effect
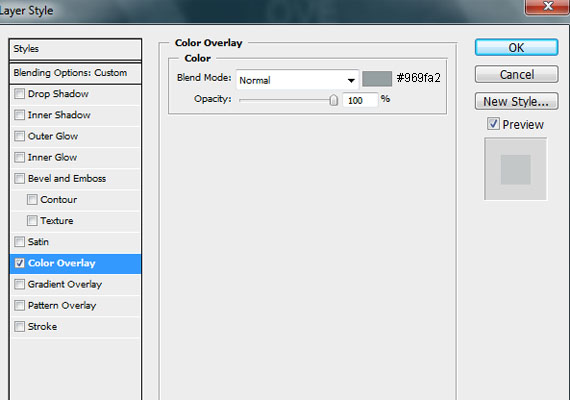
Make merged Words layer visible again and apply following layer style.
coloroverlay-how-to-create-typographic-wallpaper
Set layers opacity to 30%.
textend-how-to-create-typographic-wallpaper
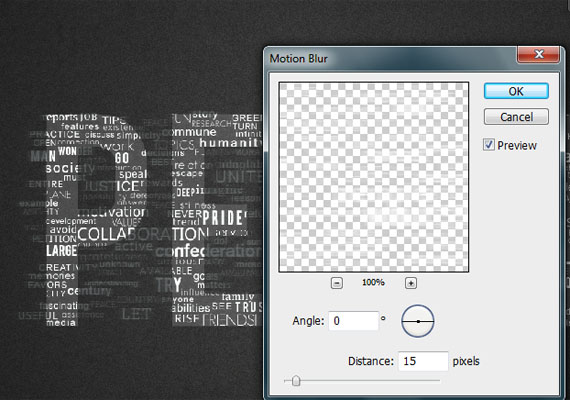
Then duplicate merged Words layer and place it under merged Words layer. Then go to Filter – Blur – Motion Blur and apply following settings.
motionblur-how-to-create-typographic-wallpaper
Set layer opacity to 15%.
motionblur2-how-to-create-typographic-wallpaper
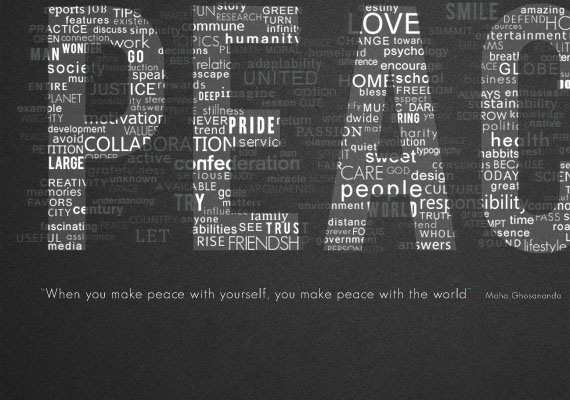
Add text under your title if you want.
final1-how-to-create-typographic-wallpaper
Step 8 – Final touches
Locate your PEACE text layer and lower its opacity to 4%.
final2-how-to-create-typographic-wallpaper
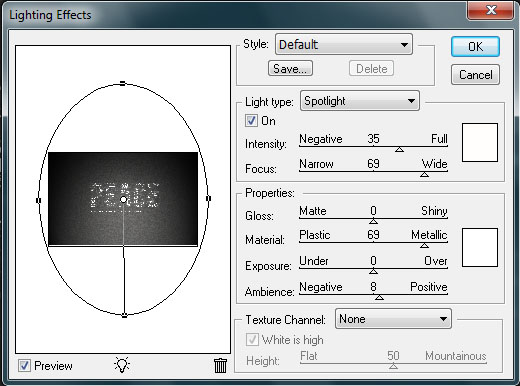
Create new layer, go to Image – Apply Image, then go to Filter – Render – Lightning Effects and apply following settings.
lightningeffects-how-to-create-typographic-wallpaper
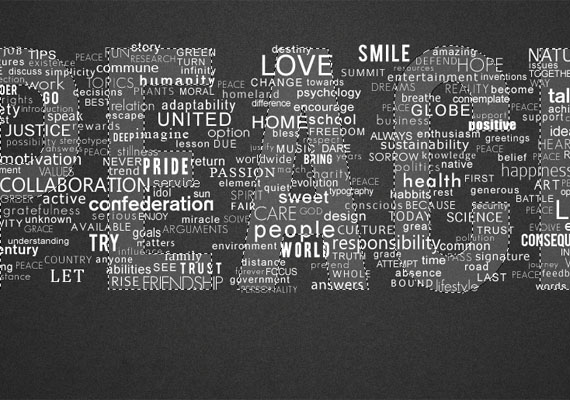
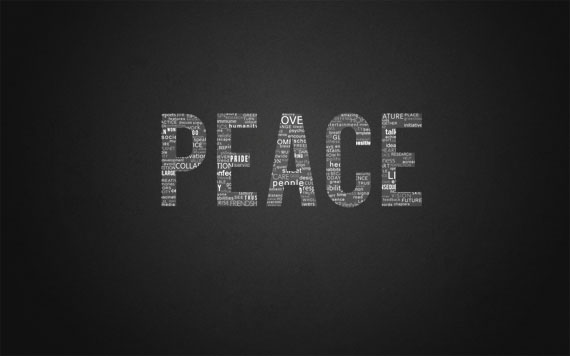
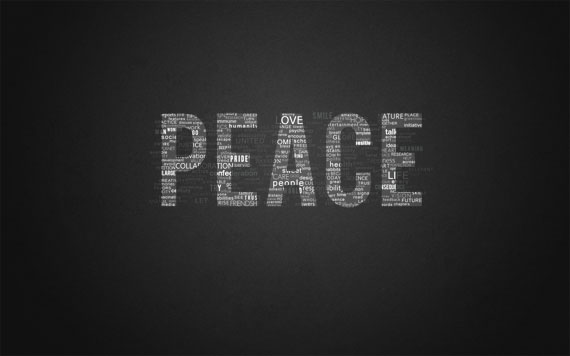
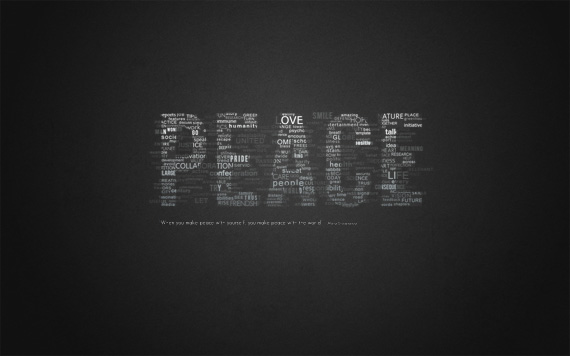
Set layers opacity to 30%, and we’re done. I also added a gradient map to one of the letter layers. Here’s final result. Click to enlarge.
final570-how-to-create-typographic-wallpaper

 That's it. hope you enjoy the tutorial.. :D
Source: http://www.1stwebdesigner.com/tutorials/learn-how-to-create-great-typographic-wallpaper-photoshop/
Read more ...

Make yourself an Amazing Typographic Portrait

The tutorial is made after receiving a reader’s request. As we know, typographic portrait art takes a huge amount of work. Here is a much simpler version I made, which hopes to give beginners an idea on how to start. This tutorial will show how to create custom brushes and fill patterns. Also you will learn more about selection and posterize tool. 

Preview of Final Image


There is no need to create any document as we will be working on this image directly.

Using the Pen tool, crop away the black areas on both sides below the ears. Double-click on the Background layer on the Layers tab to unlock it and rename as Portrait. Create a new layer below the Portrait layer and fill it with #FFFFFF. Then go to Image > Adjustments > Posterize. Set the Levels to 4.
Hide the Portrait layer for awhile by clicking the Eye icon on the left beside the layer. Using the Type tool with your favorite font and color #000000, type in a few words as shown below.
Now we are going to create a Photoshop brush. To do so, simply make a selection around the first word like what I did below. Go to Edit > Define Brush Preset. There you have it! A new brush will appear under your Brush Preset window. Do the same for the remaining words too.
Next, we are going to customize a Fill Pattern. To do so, merge all your words together as one single layer. Go to Edit > Free Transform. Reduce the size of the words to very small like what I done below. Now hide all other layers except these words. Make a selection around them and go to Edit > Define Pattern. You can find your newly created pattern now in your Pattern Preset window.
We have not much use for the words layer anymore so you can hide it away. Unhide the Portrait and Background layers again. This time make a small selection around the black area like what I did on her neck.
With that selection, go to Select > Similar. This will select all the areas with that particular color.
Before I go on further, try to select the Brush tool and right-click on any part within the document. This is the shortcut for changing Brush sizes and its type. Hide the Portrait layer, leaving the selection loaded. Create a new layer and start to stamp around with the Brushes you created earlier. What you need to take note is to adjust the sizes before you stamp so it fits nicely within the selection. Do a few times with the right-clicking, size adjusting and stamping. Very soon you will get the hang of it.
Realize that there are some parts really small and will be troublesome to stamp into those areas. So what we can do is to fill those areas up with the Fill Pattern you made earlier too. Create a new layer below the stamps. Use the Paint Bucket tool and fill it with your preset pattern.
However, the Fill Pattern made our stamps less visible. So CTRL+left click on your stamps layer to load selections around the words, go to Select > Modify > Expand. Set the Radius to 1 pixel. Then follow by Select > Inverse. Select the Fill Pattern layer and create a Layer Mask with that selection. This will create a 1 pixel border around the stamped words.
Repeat these steps for the other two tones of grey color in the Portrait layer.
And we are done! This is roughly how you should get as your finished work.
Although the black-and-white style already looks great for me, you can also add a texture background and replace the colors to your personal preferences. Hope you enjoy this tutorial. Have fun!


Source: http://10steps.sg/tutorials/photoshop/make-yourself-an-amazing-typographic-portrait/

Read more ...
© Geek Tricks by Aletheia | Designed By